Tomatoes, tomatoes, tomatoes! It is probably the one must-grow plant for almost every vegetable gardener. And growing tomatoes is tremendously rewarding – not only do you get an abundant supply of vine fresh tomatoes, but you can also preserve your summer crop bounty to enjoy deep into the winter – think sundried tomatoes, pasta sauces, ketchups, and tomato jams.
And yes, it is true, there is just something amazingly magical (and tasty!) about homegrown tomatoes.
Whether you grew a great crop, were given some delicious tomatoes from a friend, or even found a variety in the supermarket you’d like to try grow in your veg patch next year – saving seeds from tomatoes for next growing season is really easy. This also means that you don’t have to spend more on getting new seeds next year, and perhaps even have some seeds to swap for a different variety at a seed swap. And as with all crops – the longer you grow them in your specific environment, saving seeds from one season to the next, the better they should perform as the plants adapt to your particular growing area.
Step-by-step tomato seed saving:


- Choose a good tomato, ripened on the vine if you can, from one of your best growing plants with the least pests and diseases.
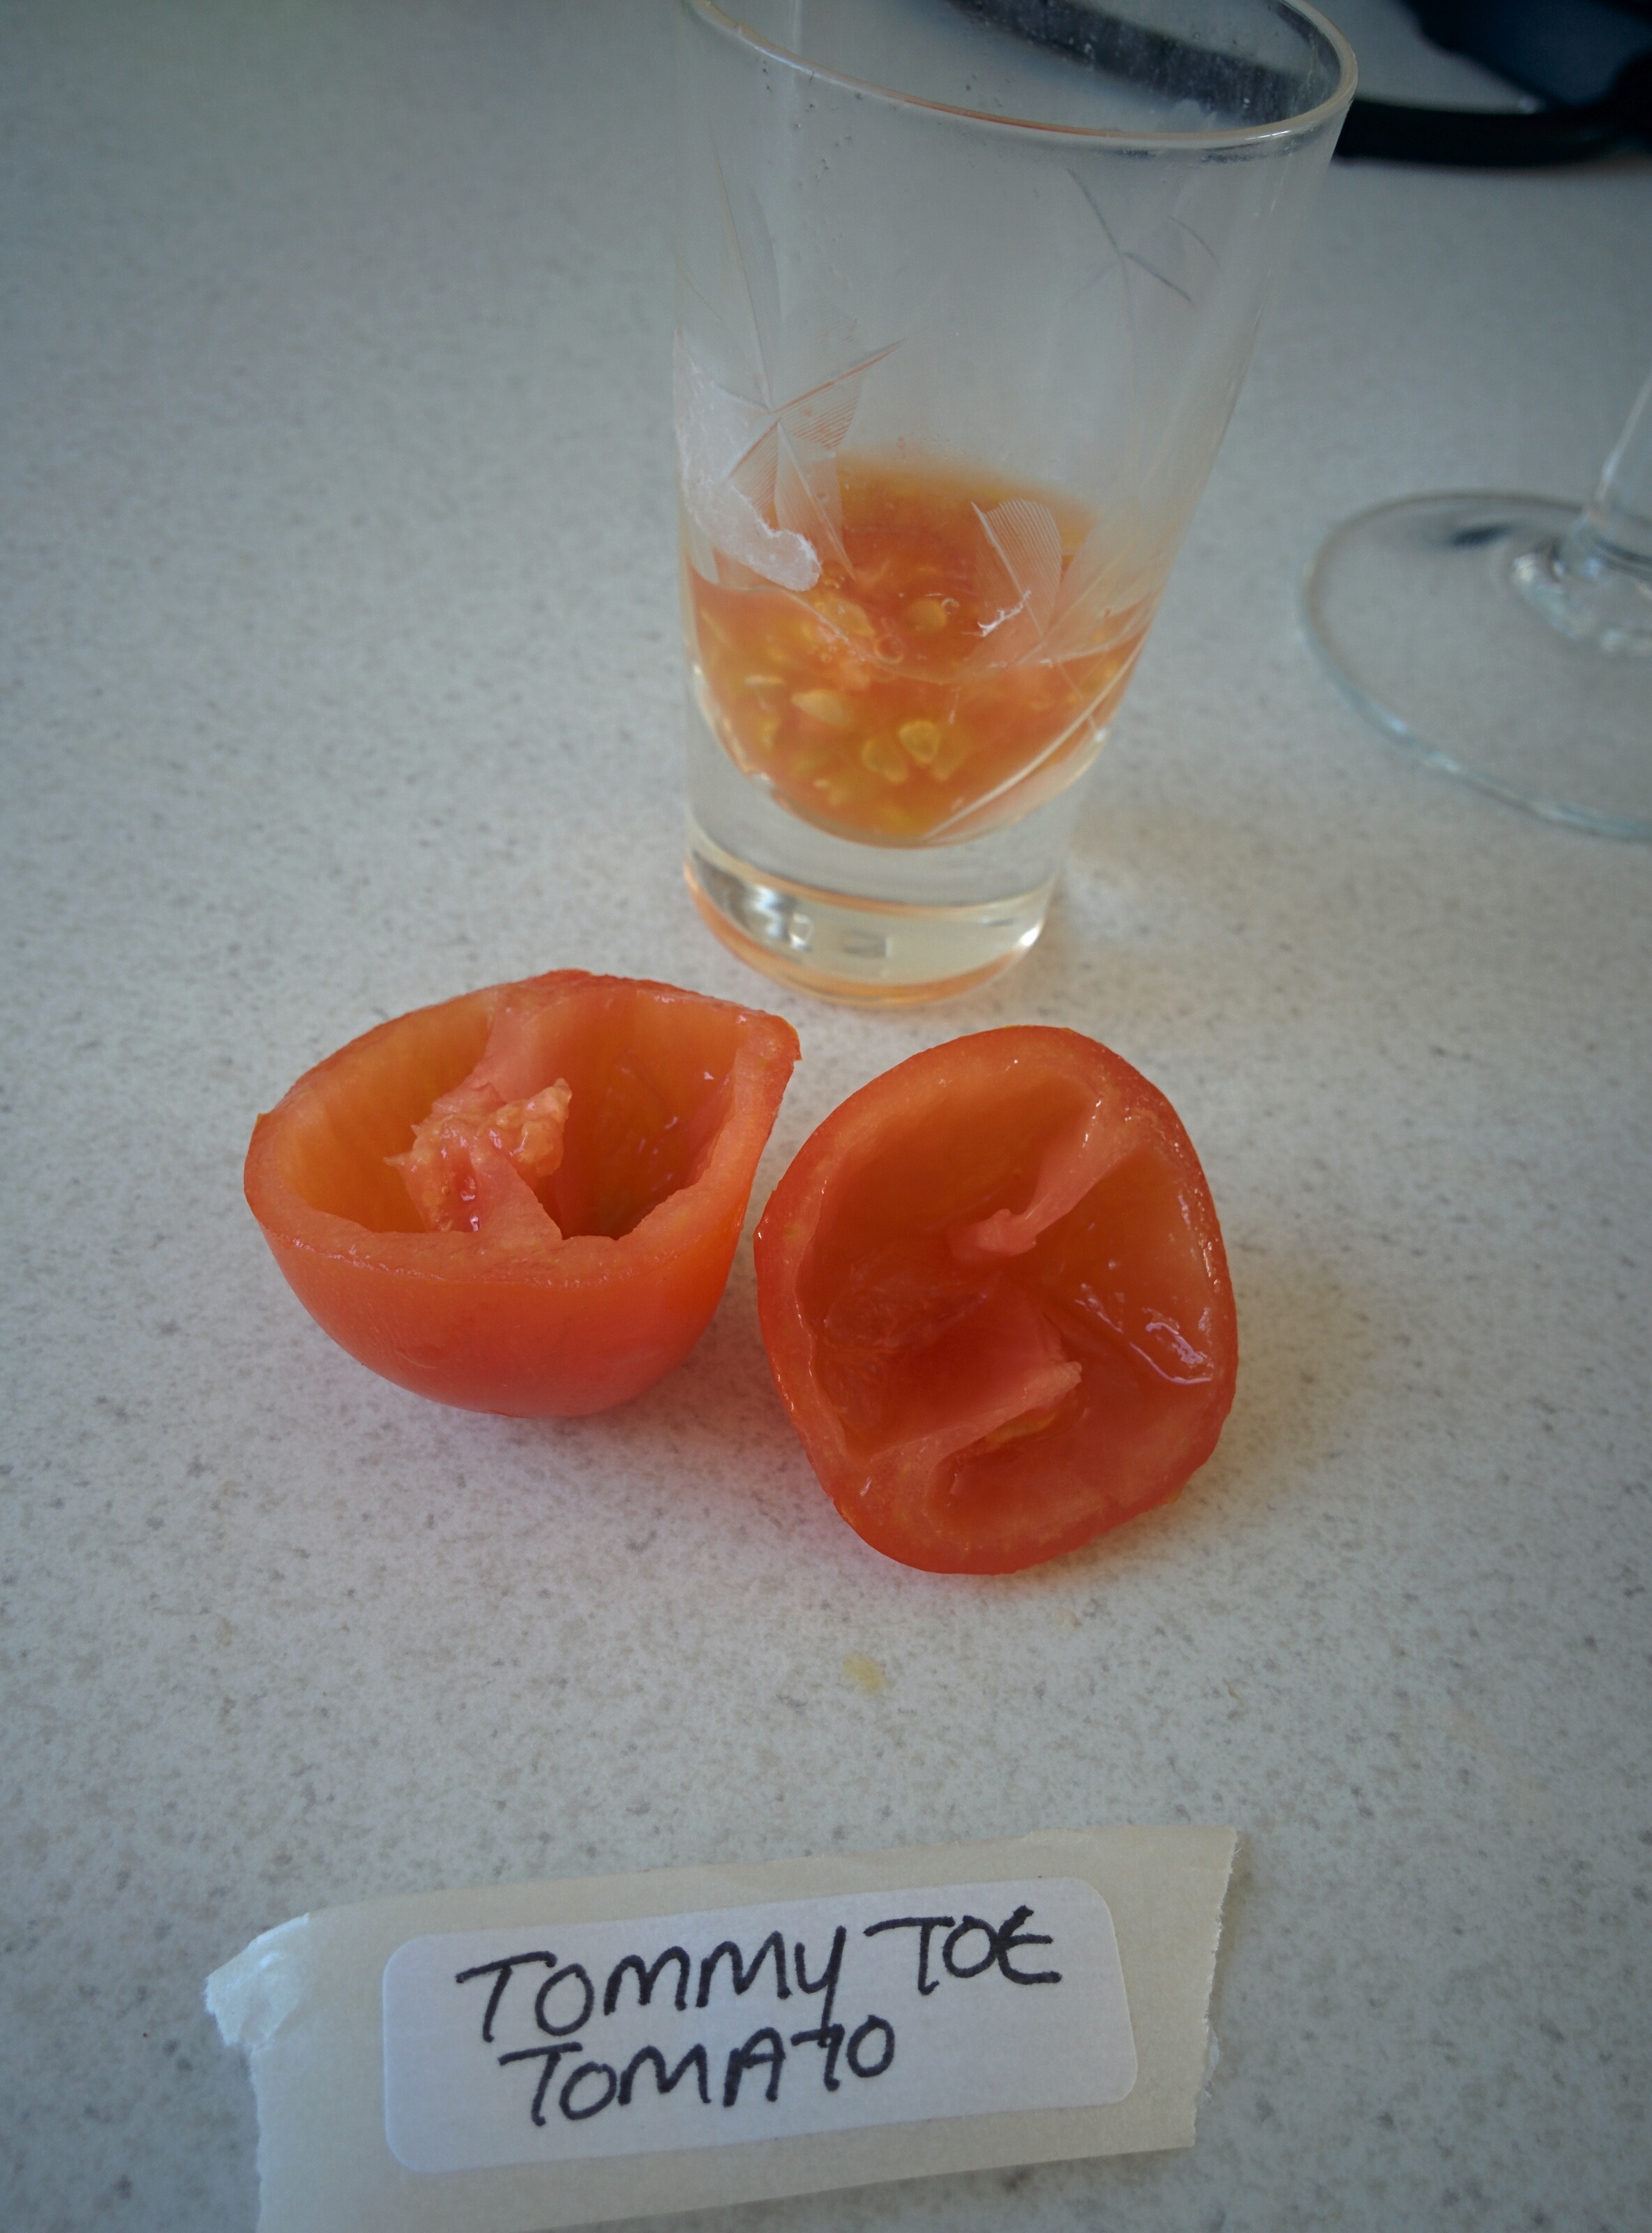
- Slice the tomato open and squeeze out the pips with their pulp into a cup/glass/container.
- Fill the container with some water – making sure the seeds are all covered.
- Cover the container with some plastic wrap with a few holes poked in so that air can move, but insects can’t easily get in.
- Stir or swirl these around a few times a day for about 2 – 3 days.
- Don’t put these in direct sunlight, you don’t want to cook your seeds! 😉
- Keep an eye on the seeds – they should not become mouldy, or start to sprout. If any of these occur, immediately go to the next step.
- Strain the seeds through a mesh sieve – and rinse. If there is any pulp left (most should have fermented away in the water), just try and rub it off as best you can.
- Put the seeds on a paper towel, and spread out us much as you can. Leave to dry for a few days.
- You can save the whole paper as is for next season, or you could peel off the seeds and place them in your seed saving envelopes/packets.
- Keep in a cool, dry spot.

That’s exactly what I have been doing the last few years, and find it works really well.
When I just started vegetable gardening, I grew one cherry tomato plant which went rampant, and provided us with great off-the-vine nibbles for a long summer. I “upgraded” to 9 pots of a variety marketed for its bushy growth and good cropping two years after that, and now have 32 tomatoes growing, mostly different heirlooms. And am planning even more next year! I am completely fascinated by the different sizes, shapes, colours, acidity levels and flavours that there are in the tomato world!