All systems: Go! Go! Go!
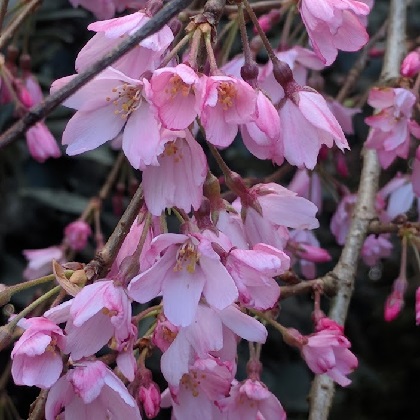
Yay for springtime! The daffodils are flowering, the cherry trees are blossoming, there’s new growth on fruit trees, and from winter dormant herbs. The new season is definitely all systems go!
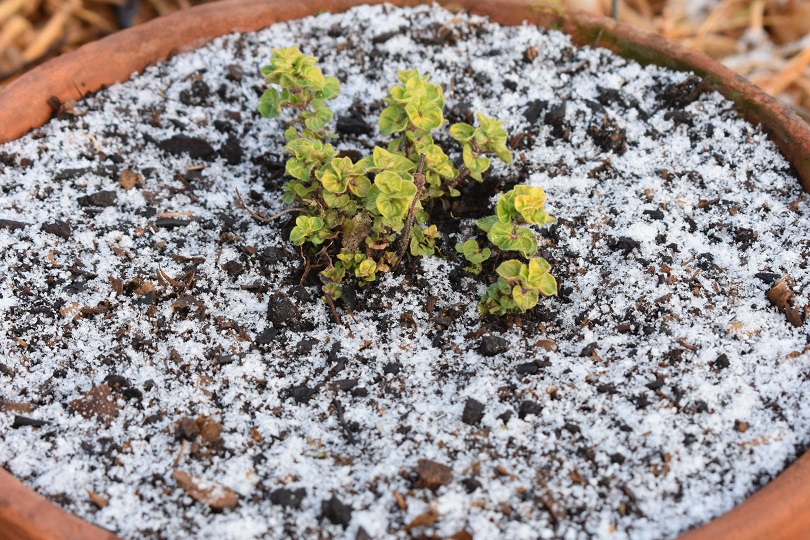
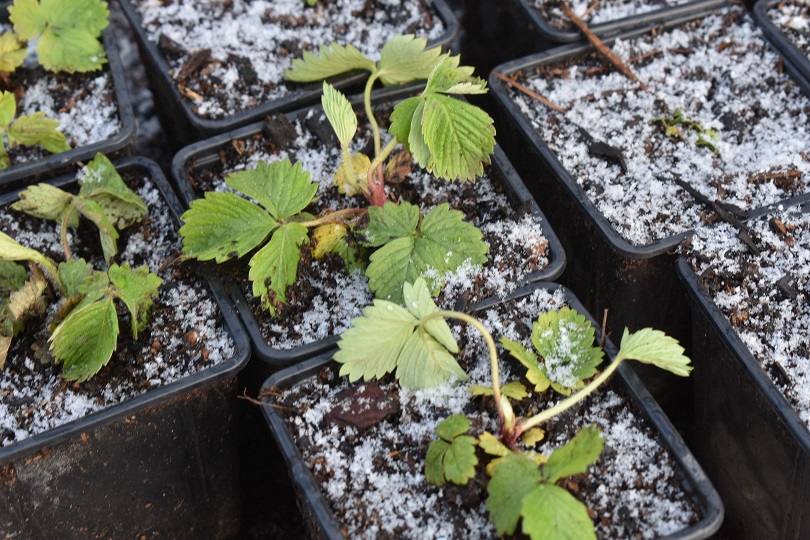
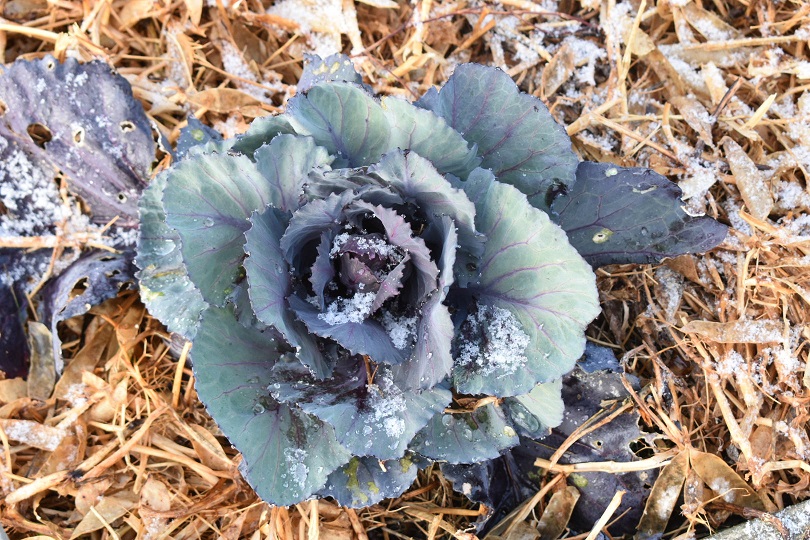
But let’s not get overeager… even if the first few days of spring were absolutely magical. We woke up to a dusting of snow (SNOW!!) this morning (6 Sept) – very unusual – and tonight is forecast clear and minus one, which means a definite frost!
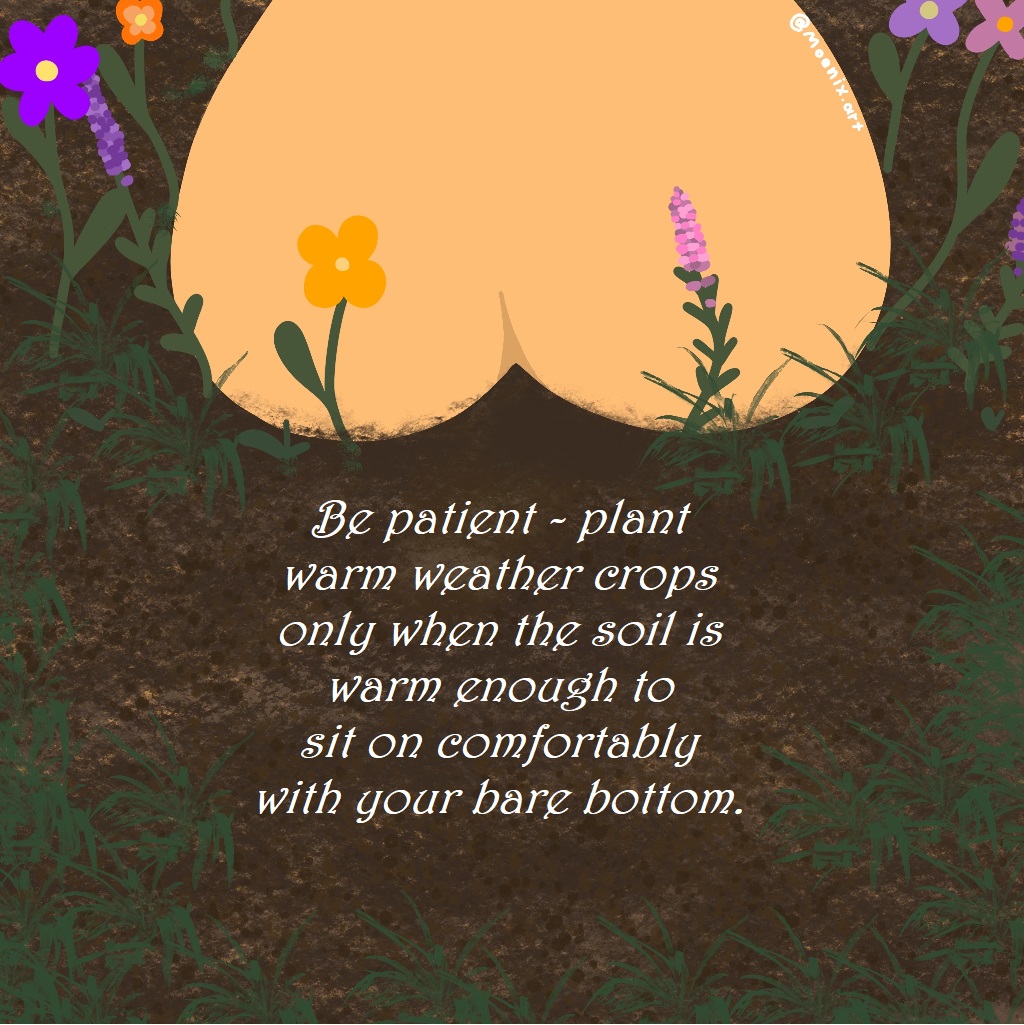
So while the list of things to grow in spring seem nearly endless, and the garden centers are putting out tomatoes, beans, chillies, zucchini and cucumbers already – please, please be patient and remember the Bare Bottom Rule.
Climate outlook
According to NIWA, despite a short-lived cold spell early in September (I think we are in it right now), the temperature is said to be likely warmer than average for our North Canterbury part of the country (actually most of NZ too). It seems a drier few months are likely and rivers and soil moisture is looking to return to near normal levels.
Lunar Calendar and Sowing Seeds
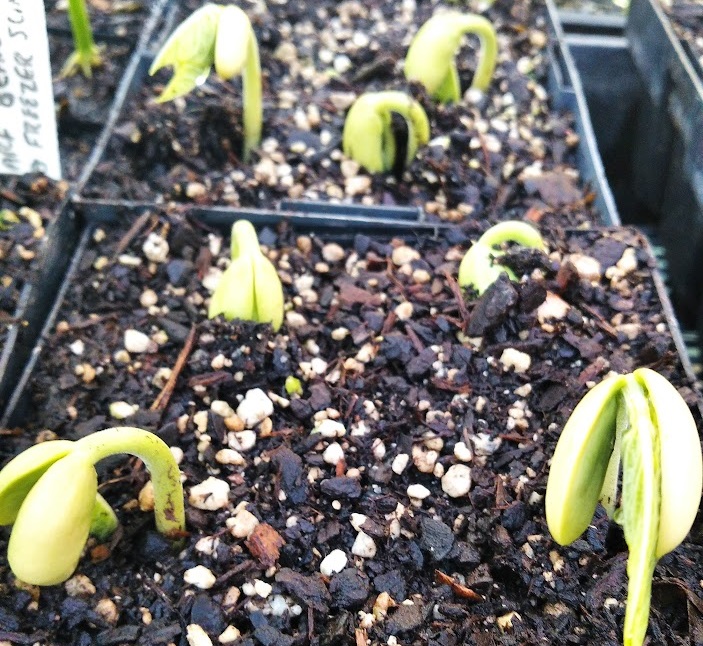
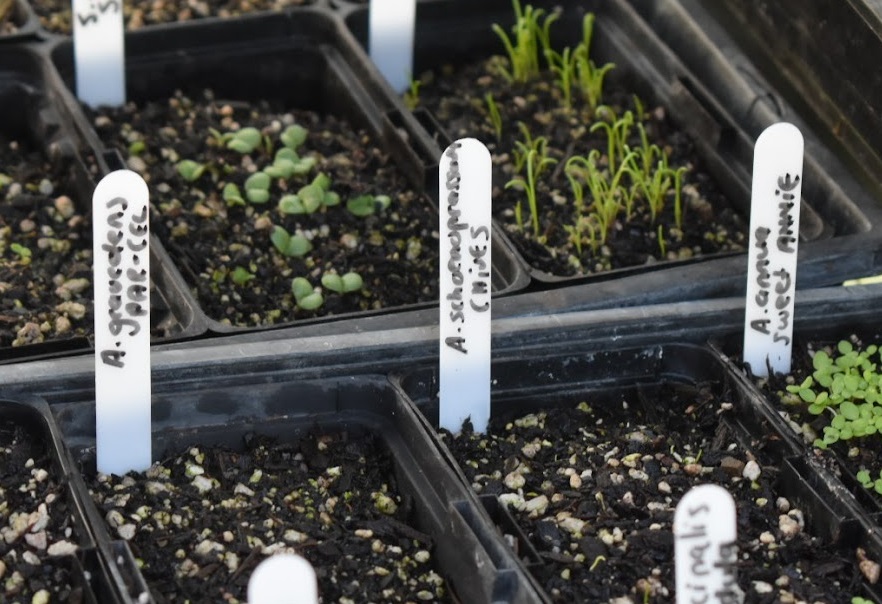
Step by step sowing seeds in containers
This is an excerpt from the propagation booklet that will be available soon for download, and which was part of the offerings to the attendees of the recent Propagation workshop.
1. Choose seasonally appropriate seeds.
2. Pretreat seeds to break dormancy if needed (e.g. soak, or file, or cold stratify).
3. Choose a container that will hold soil medium and allow free drainage. Wash and sterilize if needed.
4. Fill container about 4/5 with a good seed raising medium. The soil mix should be light and airy, with good moisture holding capacity, but be free draining.
5. Water the medium well. You can place it in a container of water to soak up from the bottom.
6. Sow seeds and cover with seed mix or vermiculite, but no deeper than twice their own width. Planting seeds is new life, not a burial (funeral). Spray surface with a fine mist.
7. Place in the ideal germination environment for the chosen seed, e.g. for tomatoes it should be warm, frost free and sheltered, for endive outside in the elements should be fine.
8. Set up a watering schedule to ensure that the seedling medium never dries out completely, but don’t overwater either. Good drainage is important: most new roots shouldn’t be sitting in water for prolonged periods of time.
9. Check for fungal diseases like damping off often – you can spray with a weak chamomile or valerian tea, or sprinkle with fine ground cinnamon to try keep fungal and other disease problems in check.
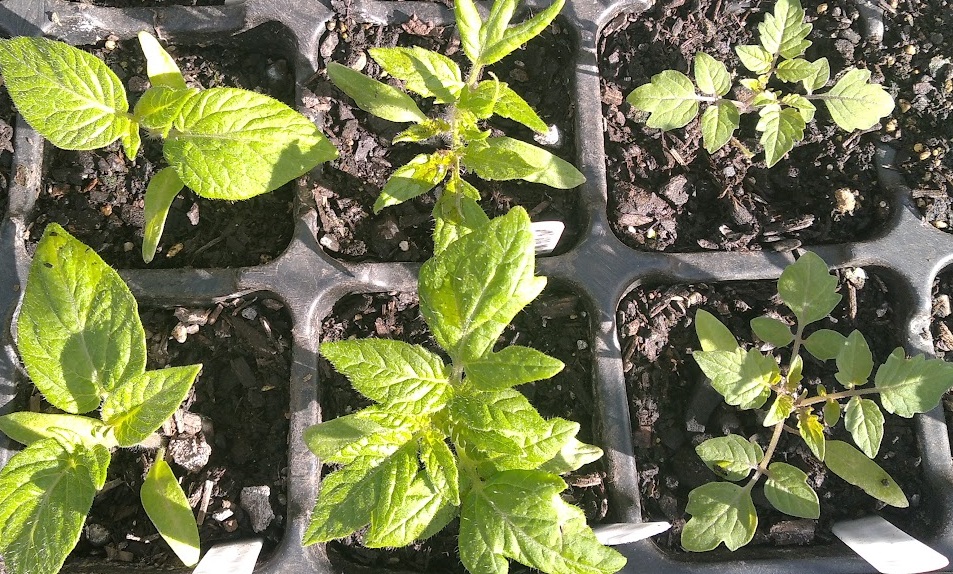
10. When the second set of true leaves form, and the final spot in the garden is ready (and warm enough) for your chosen crop, you can prick the seedlings out gently and transplant.
TIP: Before transplanting or directly after, you can water well with a good dilution of seaweed tea, which may help mitigate transplants shock.

